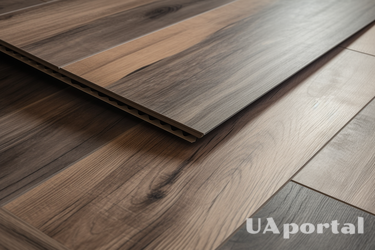
How to install laminate flooring by yourself: repair tips

When it comes to home improvement projects, installing laminate flooring is a popular choice for many homeowners. UAportal has prepared practical tips on how to lay laminate flooring yourself in order to save time and money as you don't hire a professional.
Measure and plan
Start by measuring the length and width of the room, taking into account all corners and niches. Once you have the measurements, calculate the total area of flooring required, taking into account the recommended percentage of waste. Then plan the layout by determining the direction of the planks and deciding where they should start and end.
Read also: Planning and the right tools: how to make home renovation less stressful
Prepare the substrate
Start by removing any existing carpet, tile, or other flooring materials. Make sure the subfloor is clean, level, and free of debris. If necessary, use a leveling compound to remove any unevenness. Also, check for any moisture or dampness problems and fix them before you start.
Acclimatizing the flooring
Open the boxes of laminate flooring and let them stand in the room for at least 48 hours before laying. This process will allow the planks to adjust to the temperature and humidity in the room, preventing any expansion or contraction issues later on. Be sure to follow the manufacturer's recommendations for acclimatization time and conditions.
How to place furniture in the house to organize the space functionally
Lay the underlayment and start laying the boards
The underlayment is an important layer that provides cushioning, sound insulation, and moisture protection for your laminate flooring. Lay the appropriate underlayment following the manufacturer's instructions. Once the underlayment is in place, you can start laying the planks. Start in the corner of the room, with the grooved side facing the wall. Leave a small gap, usually about 1/4 inch, between the planks and the walls to allow for expansion. Use spacers to maintain a constant gap throughout the installation.
Continue laying and finishing touches
To create a visually appealing pattern, stagger the seams between the planks. Use a block and mallet to ensure a tight and secure connection. When you reach the end of the row, measure and trim the last board leaving a 1/4-inch gap. Remember to wear appropriate protective equipment such as safety glasses and knee pads when cutting the boards. Finally, install shoe or quarter round moldings to close the clear gaps and enjoy your new laminate flooring.
Earlier, we wrote about 20 life hacks that will help you clean your apartment faster.
If you want to get the latest news about the war and events in Ukraine, subscribe to our Telegram channel !
